Change the layout, fonts, colours and headings of a lead form
The Styles tab has three pages for how the form looks on your website. Nothing on it changes Simpro, and only the Successful response message needs a subscription.
Before you start
- The Styles tab appears once the form has a Simpro company on its Properties page.
- Each page has its own Save. Changes you haven't saved are lost when you open another page.
Step by step
- Open your form from Forms and click the Styles tab. It's there whether the form opened in Form UI or Config, and it opens on Layout options.
- Make your changes on Layout options, Fonts and colours or Headings and labels.
- Click Save at the bottom of the page before opening the next one.
Saving publishes the form. Reload your website page to see the change. The same settings are under Form styles and each section's inspector in Form UI, where they show on the canvas as you change them.
Layout options
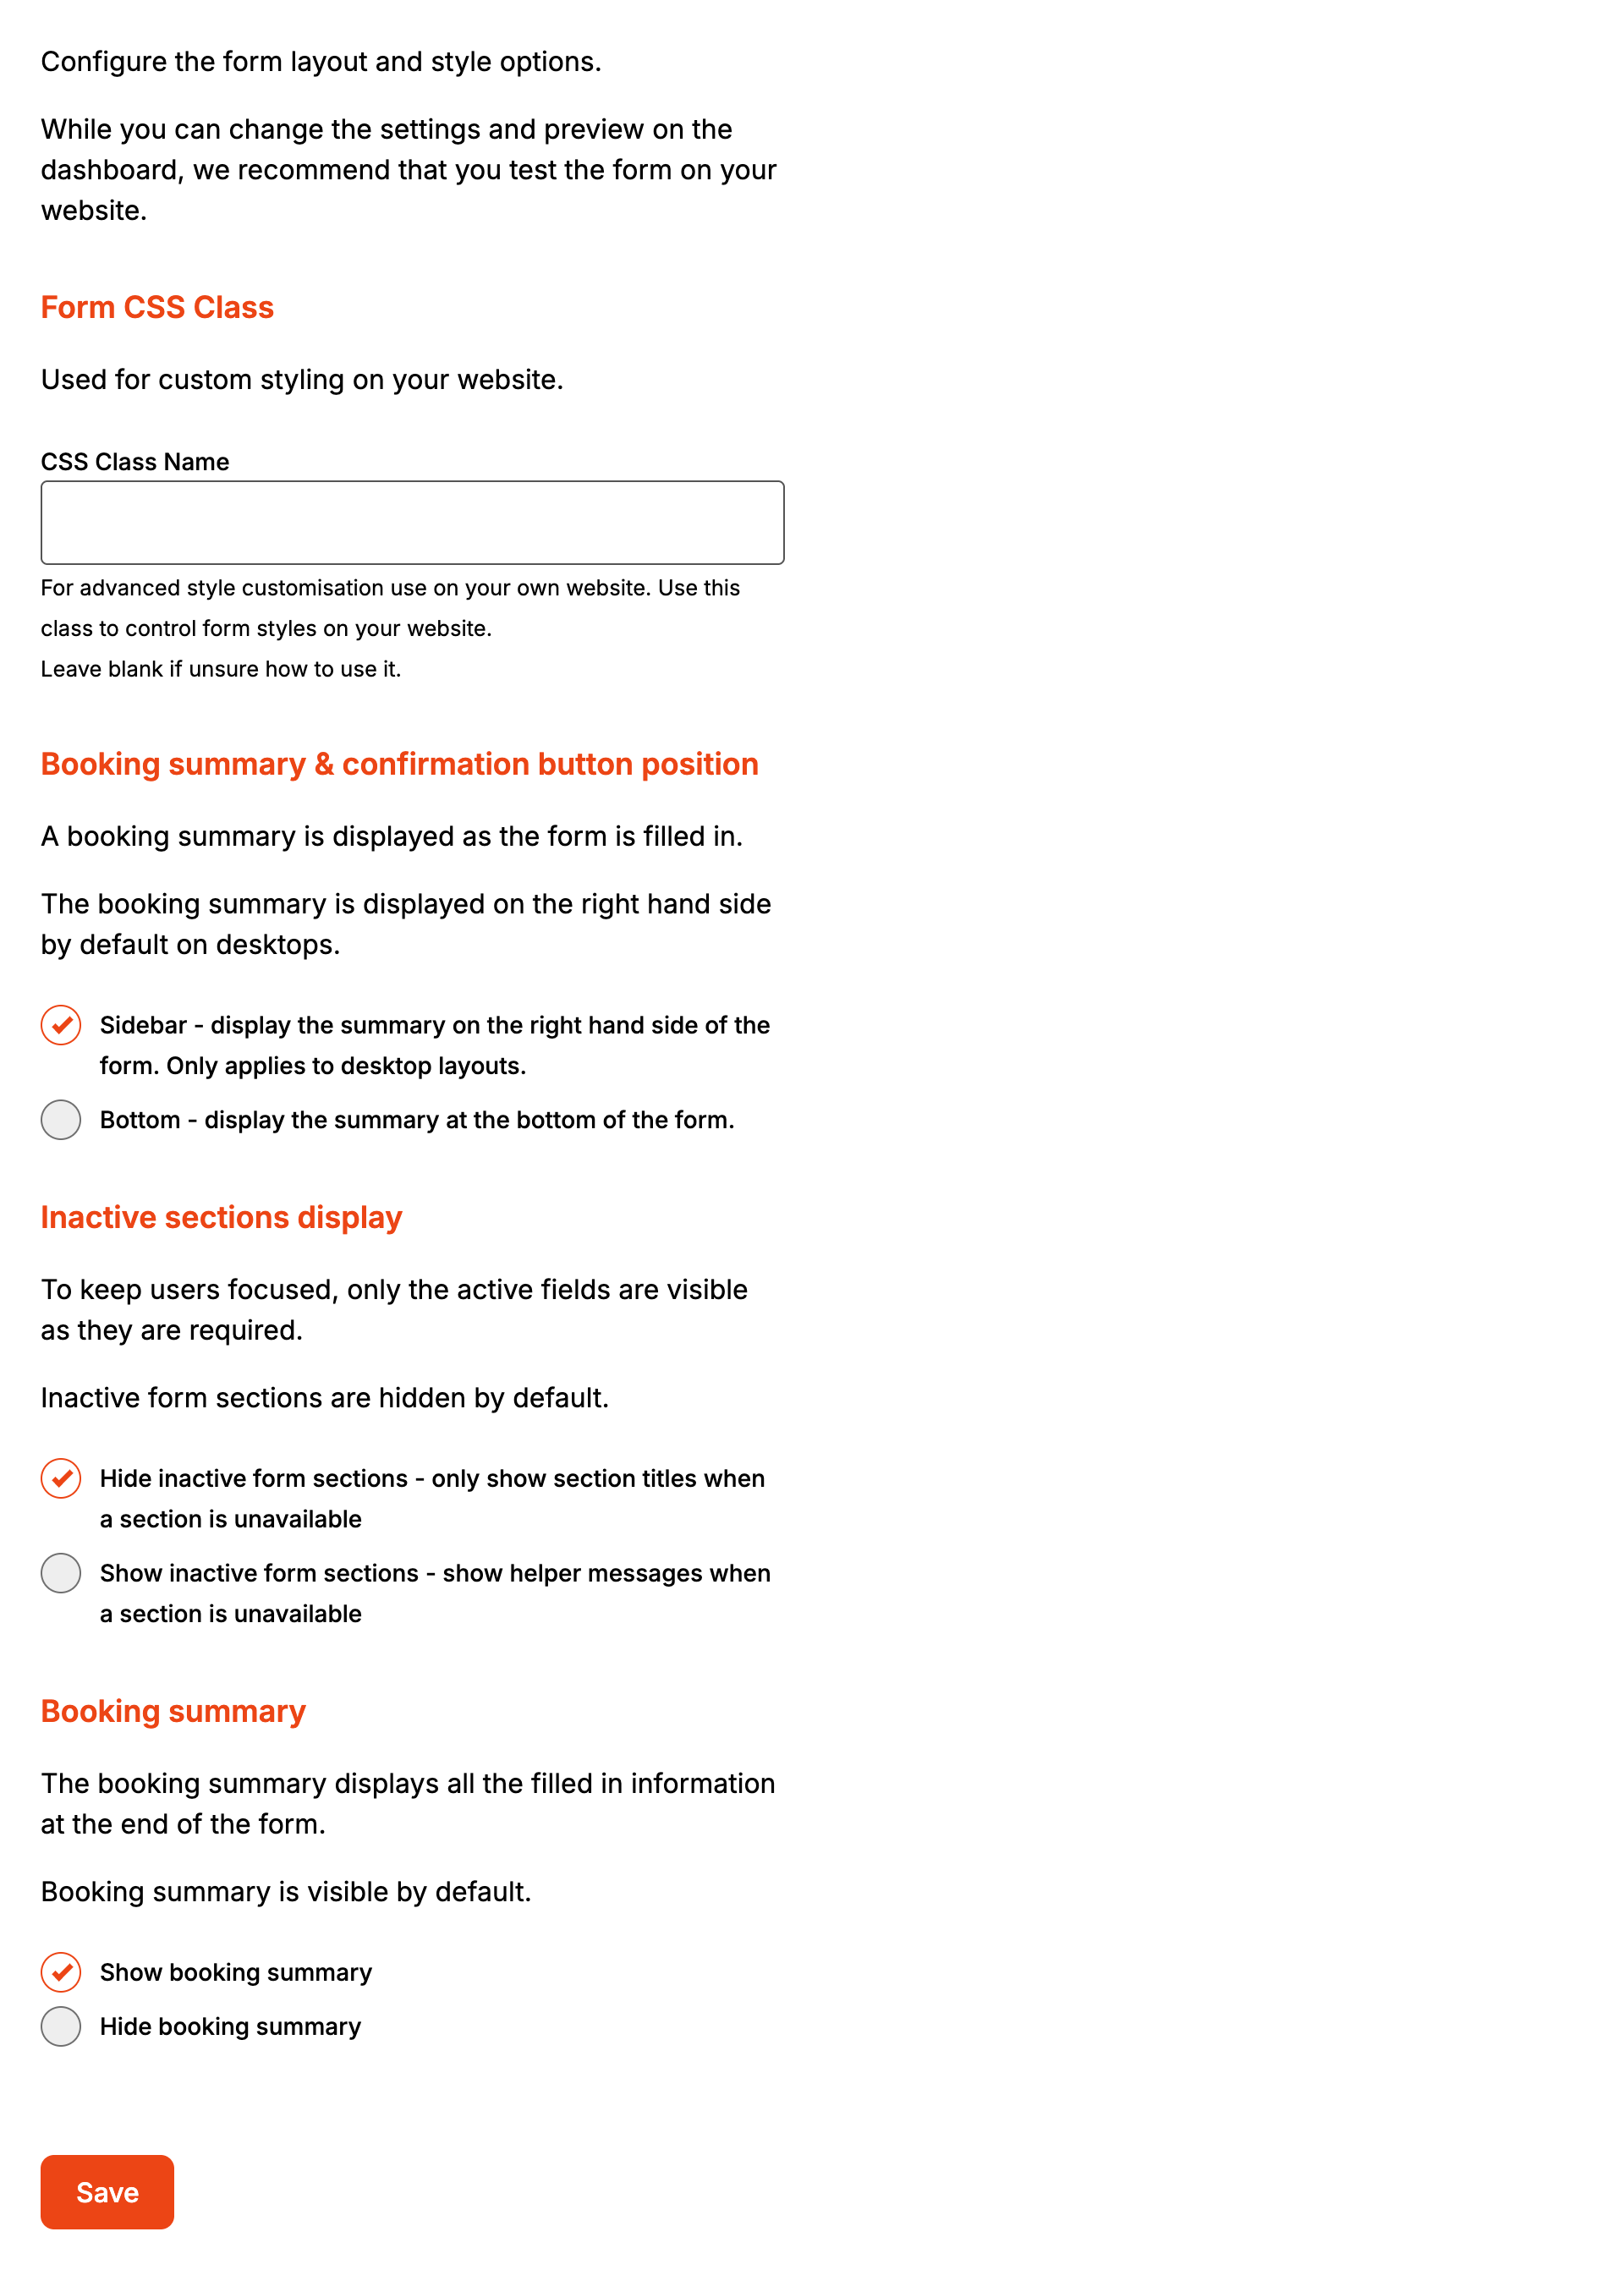
CSS Class Name adds a class of your own to the form so your website's stylesheet can target it.
Leave it blank if you don't need one. With a class name of myform, the form carries these
classes:
| Class | Where it is |
|---|---|
myform |
The whole form |
myform-Subheading |
Section headings, apart from the service heading |
myform-Services, myform-DateTime, myform-Attachments |
The service, date and time, and attachments sections |
myform-CustomerFields, myform-SiteFields, myform-LeadFields, myform-CostCentreFields |
The fields in each section |
myform-Confirmation, myform-ConfirmationHeading |
The summary and its heading |
myform-Empty |
The message in a section that isn't open yet |
The list under Custom CSS Code on Fonts and colours also names -Heading, -Form,
-Description, -Categories, -Customer, -Site, -Job and -Quote. The lead form doesn't use
those.
Booking summary & confirmation button position sets where the summary and the Confirm enquiry button go. Sidebar (the default) puts them to the right of the form on desktops. Bottom puts them under the form.
Inactive sections display matters because the form opens one section at a time: a section takes input once the one before it is complete. Hide inactive form sections (the default) shows only the heading of a section that isn't open yet. Show inactive form sections adds a message under the heading, such as "Please complete customer details." The service and date and time sections show their message with either choice.
Hide booking summary removes the summary and its heading. The Confirm enquiry button stays.
Fonts and colours
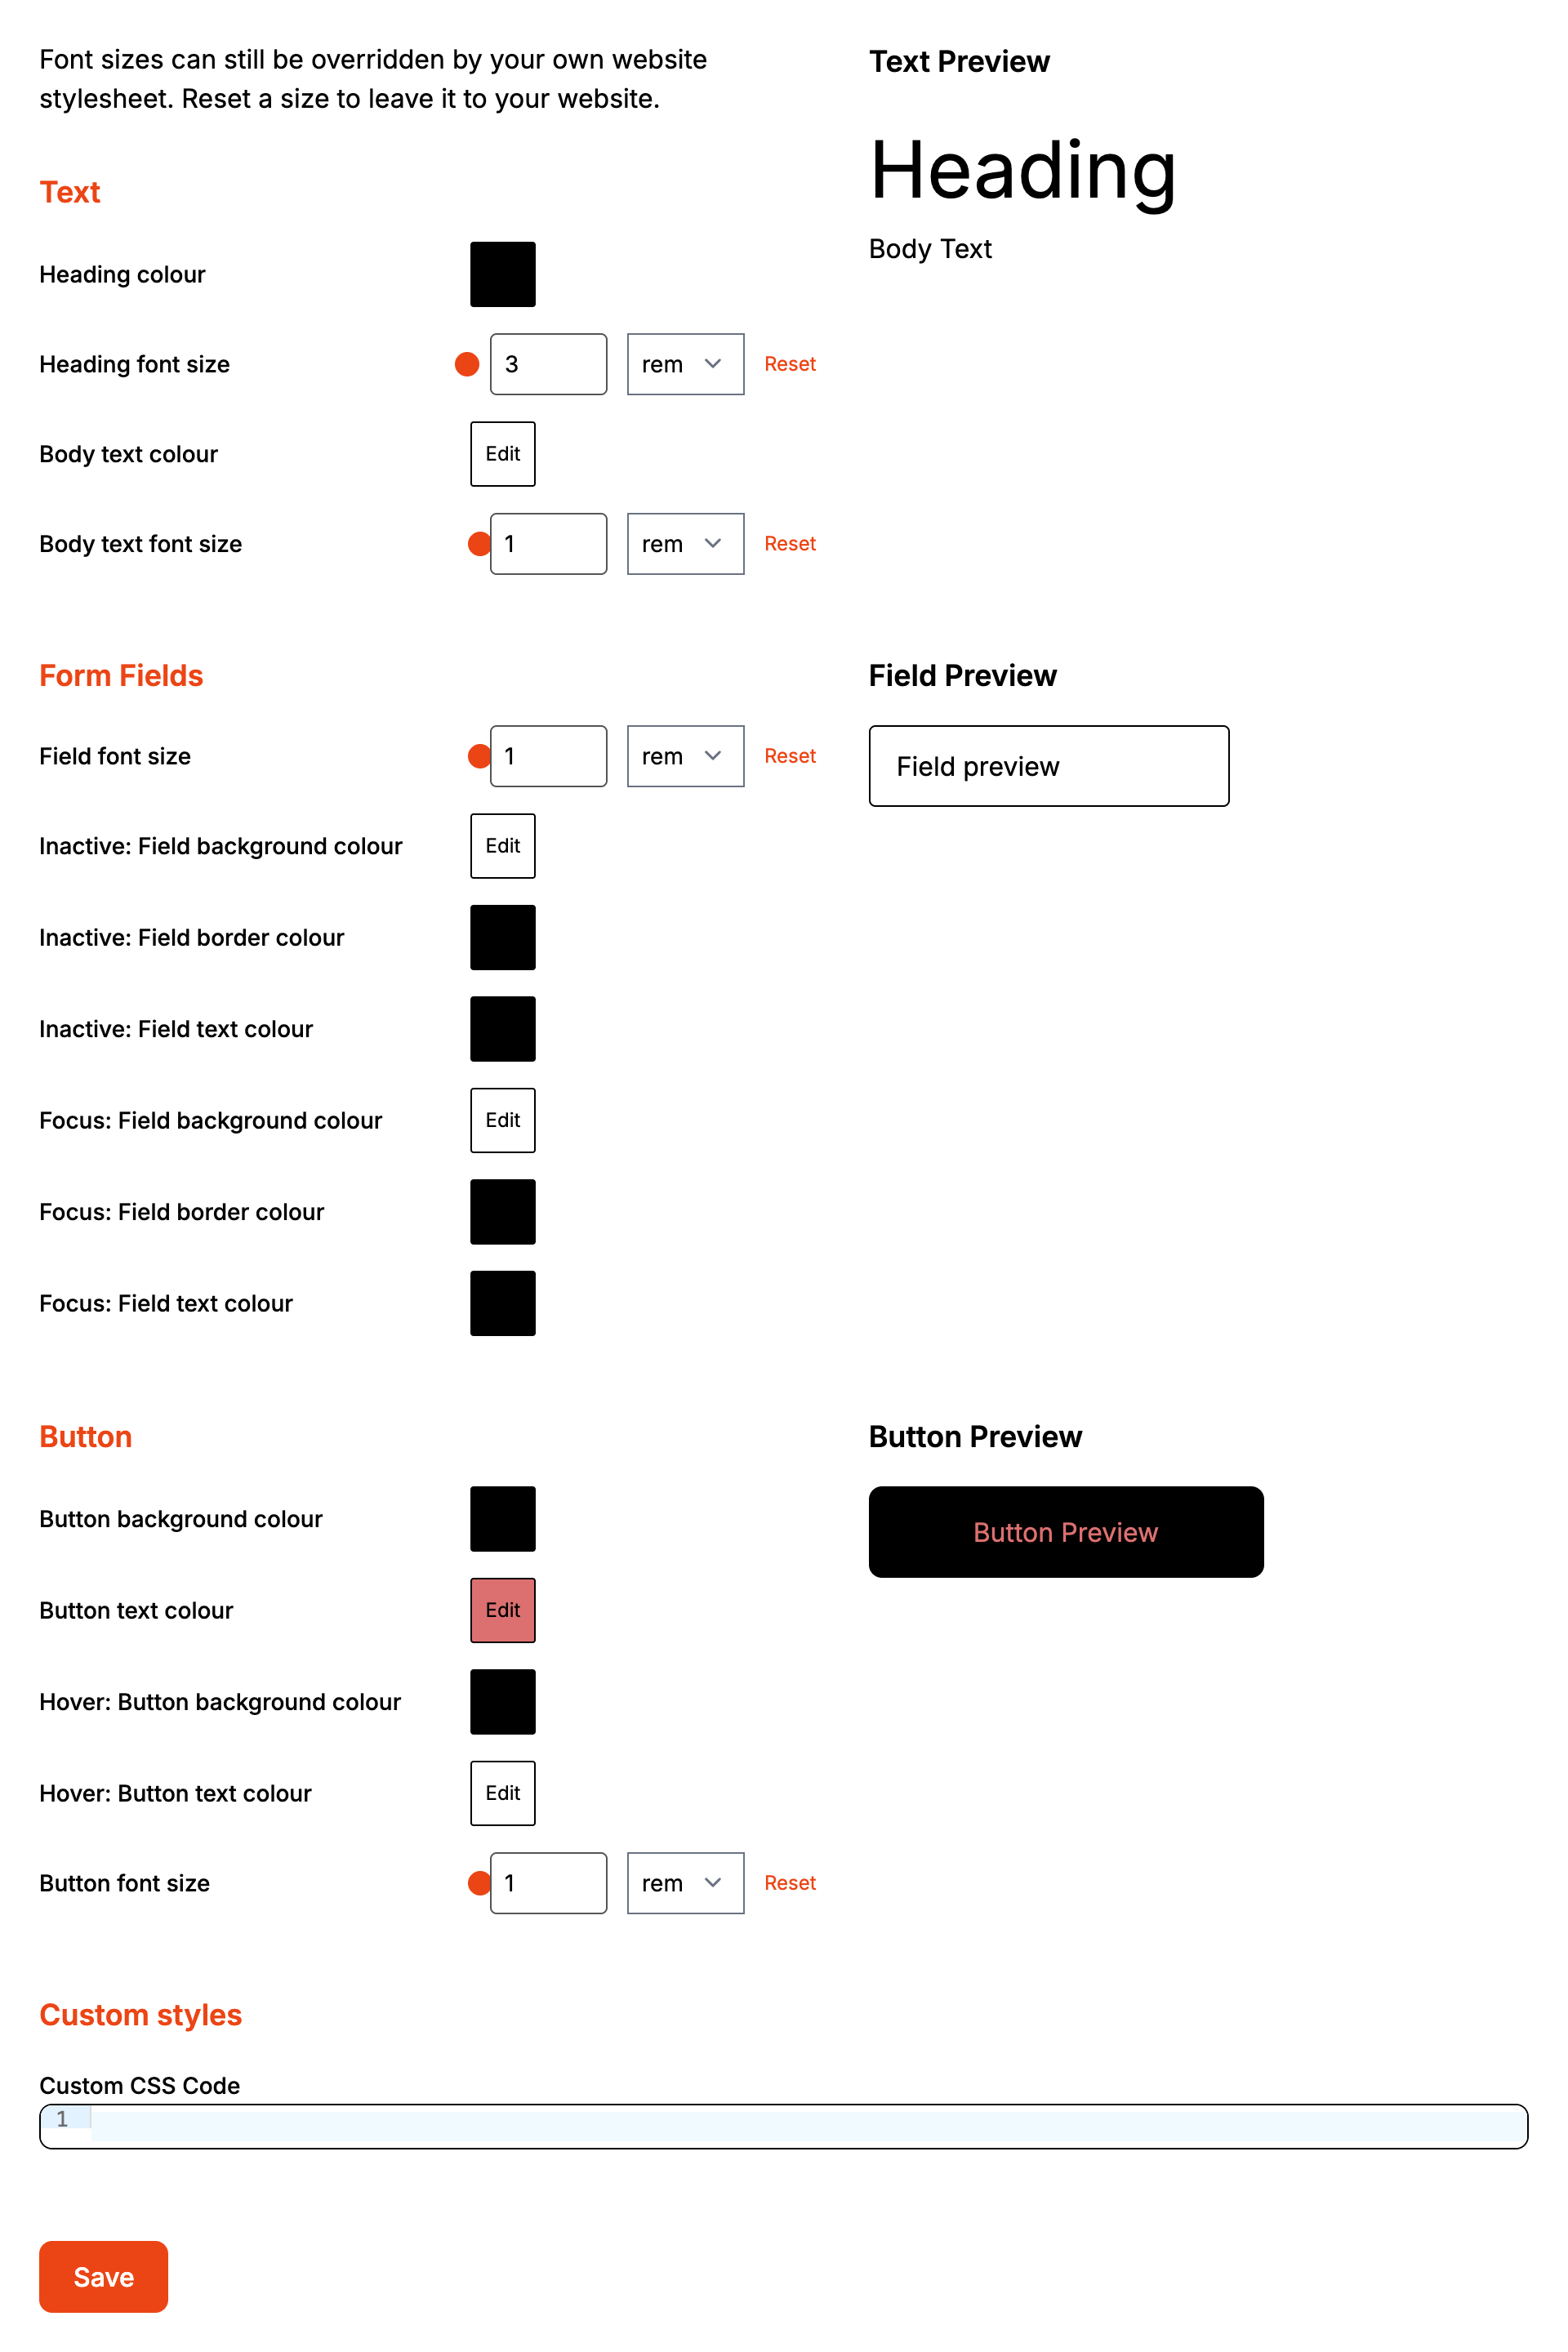
- Heading colour and Heading font size apply to the section headings and the summary heading. The form's name at the top isn't affected.
- Body text colour and Body text font size apply to paragraph text, such as the form's description.
- The Form Fields settings apply to single-line text and email boxes. Multi-line boxes such as the lead description, drop-down lists, and date and link fields keep their own look. The three Focus: colours show when the pointer is over a field.
- The Button settings apply to the Confirm enquiry button and other buttons on the form. The service, date and time choices keep their own look.
- For a font size, drag the slider or type a number, and pick
rem,emorpx. Reset clears the size and leaves it to your website. - Custom CSS Code is added to the form on your website and only reaches the form. A rule such
as
h2 { letter-spacing: 1px; }changes the form's headings and nothing else on the page.
Headings and labels
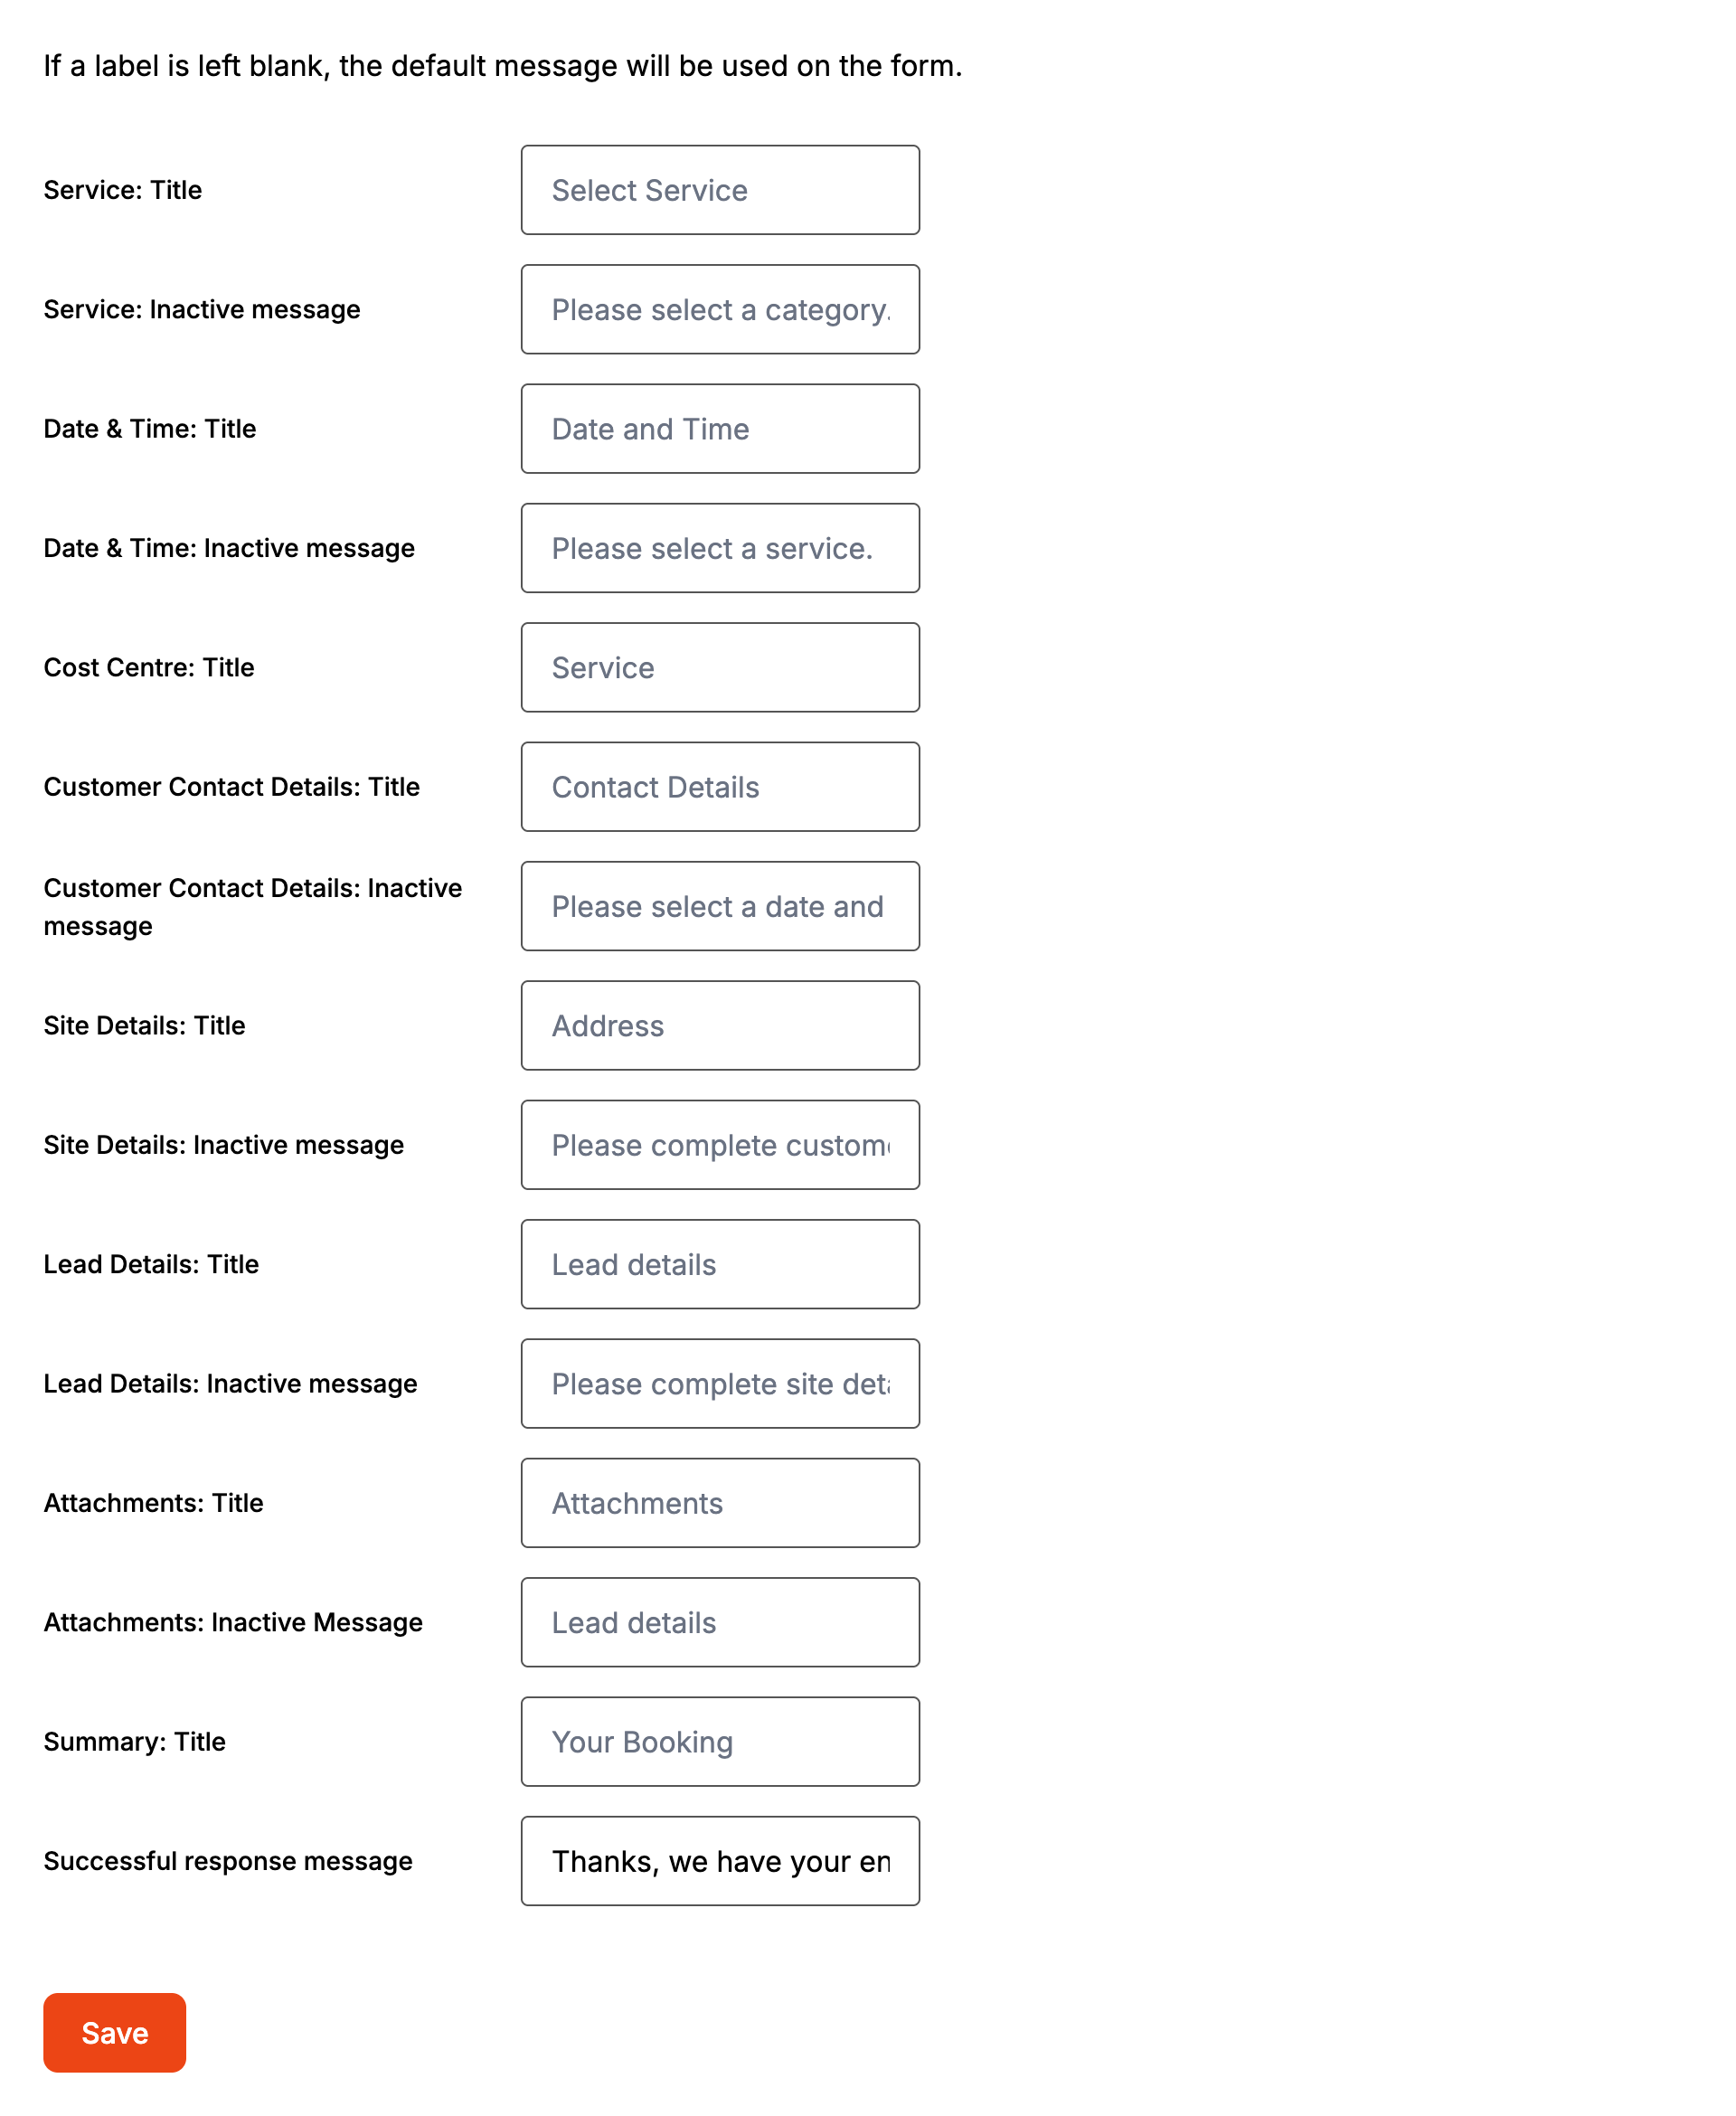
Each box replaces a heading or message on the form. Leave one blank and the form uses its own default. Some of the grey placeholder text in the boxes differs from the default customers see. This is what the form shows:
| Label | Shown when left blank |
|---|---|
| Service: Title | Select Service |
| Service: Inactive message | Please select a category. |
| Date & Time: Title | Date and Time |
| Date & Time: Inactive message | Please select a service. Once a service is picked and no dates are free: No dates available. |
| Cost Centre: Title | Service |
| Customer Contact Details: Title | Contact Details |
| Customer Contact Details: Inactive message | Please select a date and time. |
| Site Details: Title | Address |
| Site Details: Inactive message | Please complete customer details. |
| Attachments: Title | Attachments |
| Attachments: Inactive Message | Please complete lead details. |
| Summary: Title | Your enquiry, then Confirmation once every section is complete |
| Successful response message | Thank you for your enquiry. |
Inactive messages only show when Show inactive form sections is chosen on Layout options, apart from the service and date and time ones.
Successful response message is the same setting as the one on Actions and on the Response screen in Form UI. It needs a Lead form subscription. Without one the form shows "Thank you for your enquiry."
When it goes wrong
Headings got bigger or the button text went pink after saving
Fonts and colours saves every value on the page, including ones you didn't touch. On a form
that has never been styled, the page opens with starting values, among them a 3rem heading size
and a pink button text colour, and Save puts them on the live form. Check each value before
saving, and click Reset on any size you want left to your website.
Lead Details: Title doesn't change the form
Lead Details: Title and Lead Details: Inactive message have no effect on the live form. It always shows "Enquiry Details" and "Please complete site details."
I can't remove a colour
Fonts and colours has no way to clear a colour once it's set. In Form UI, open Form styles, click Clear next to the colour, then Save.
A style doesn't show on my website
Each page saves on its own, so check the page you changed was saved. Your website's own stylesheet can still override the heading and body text styles and the field font size.